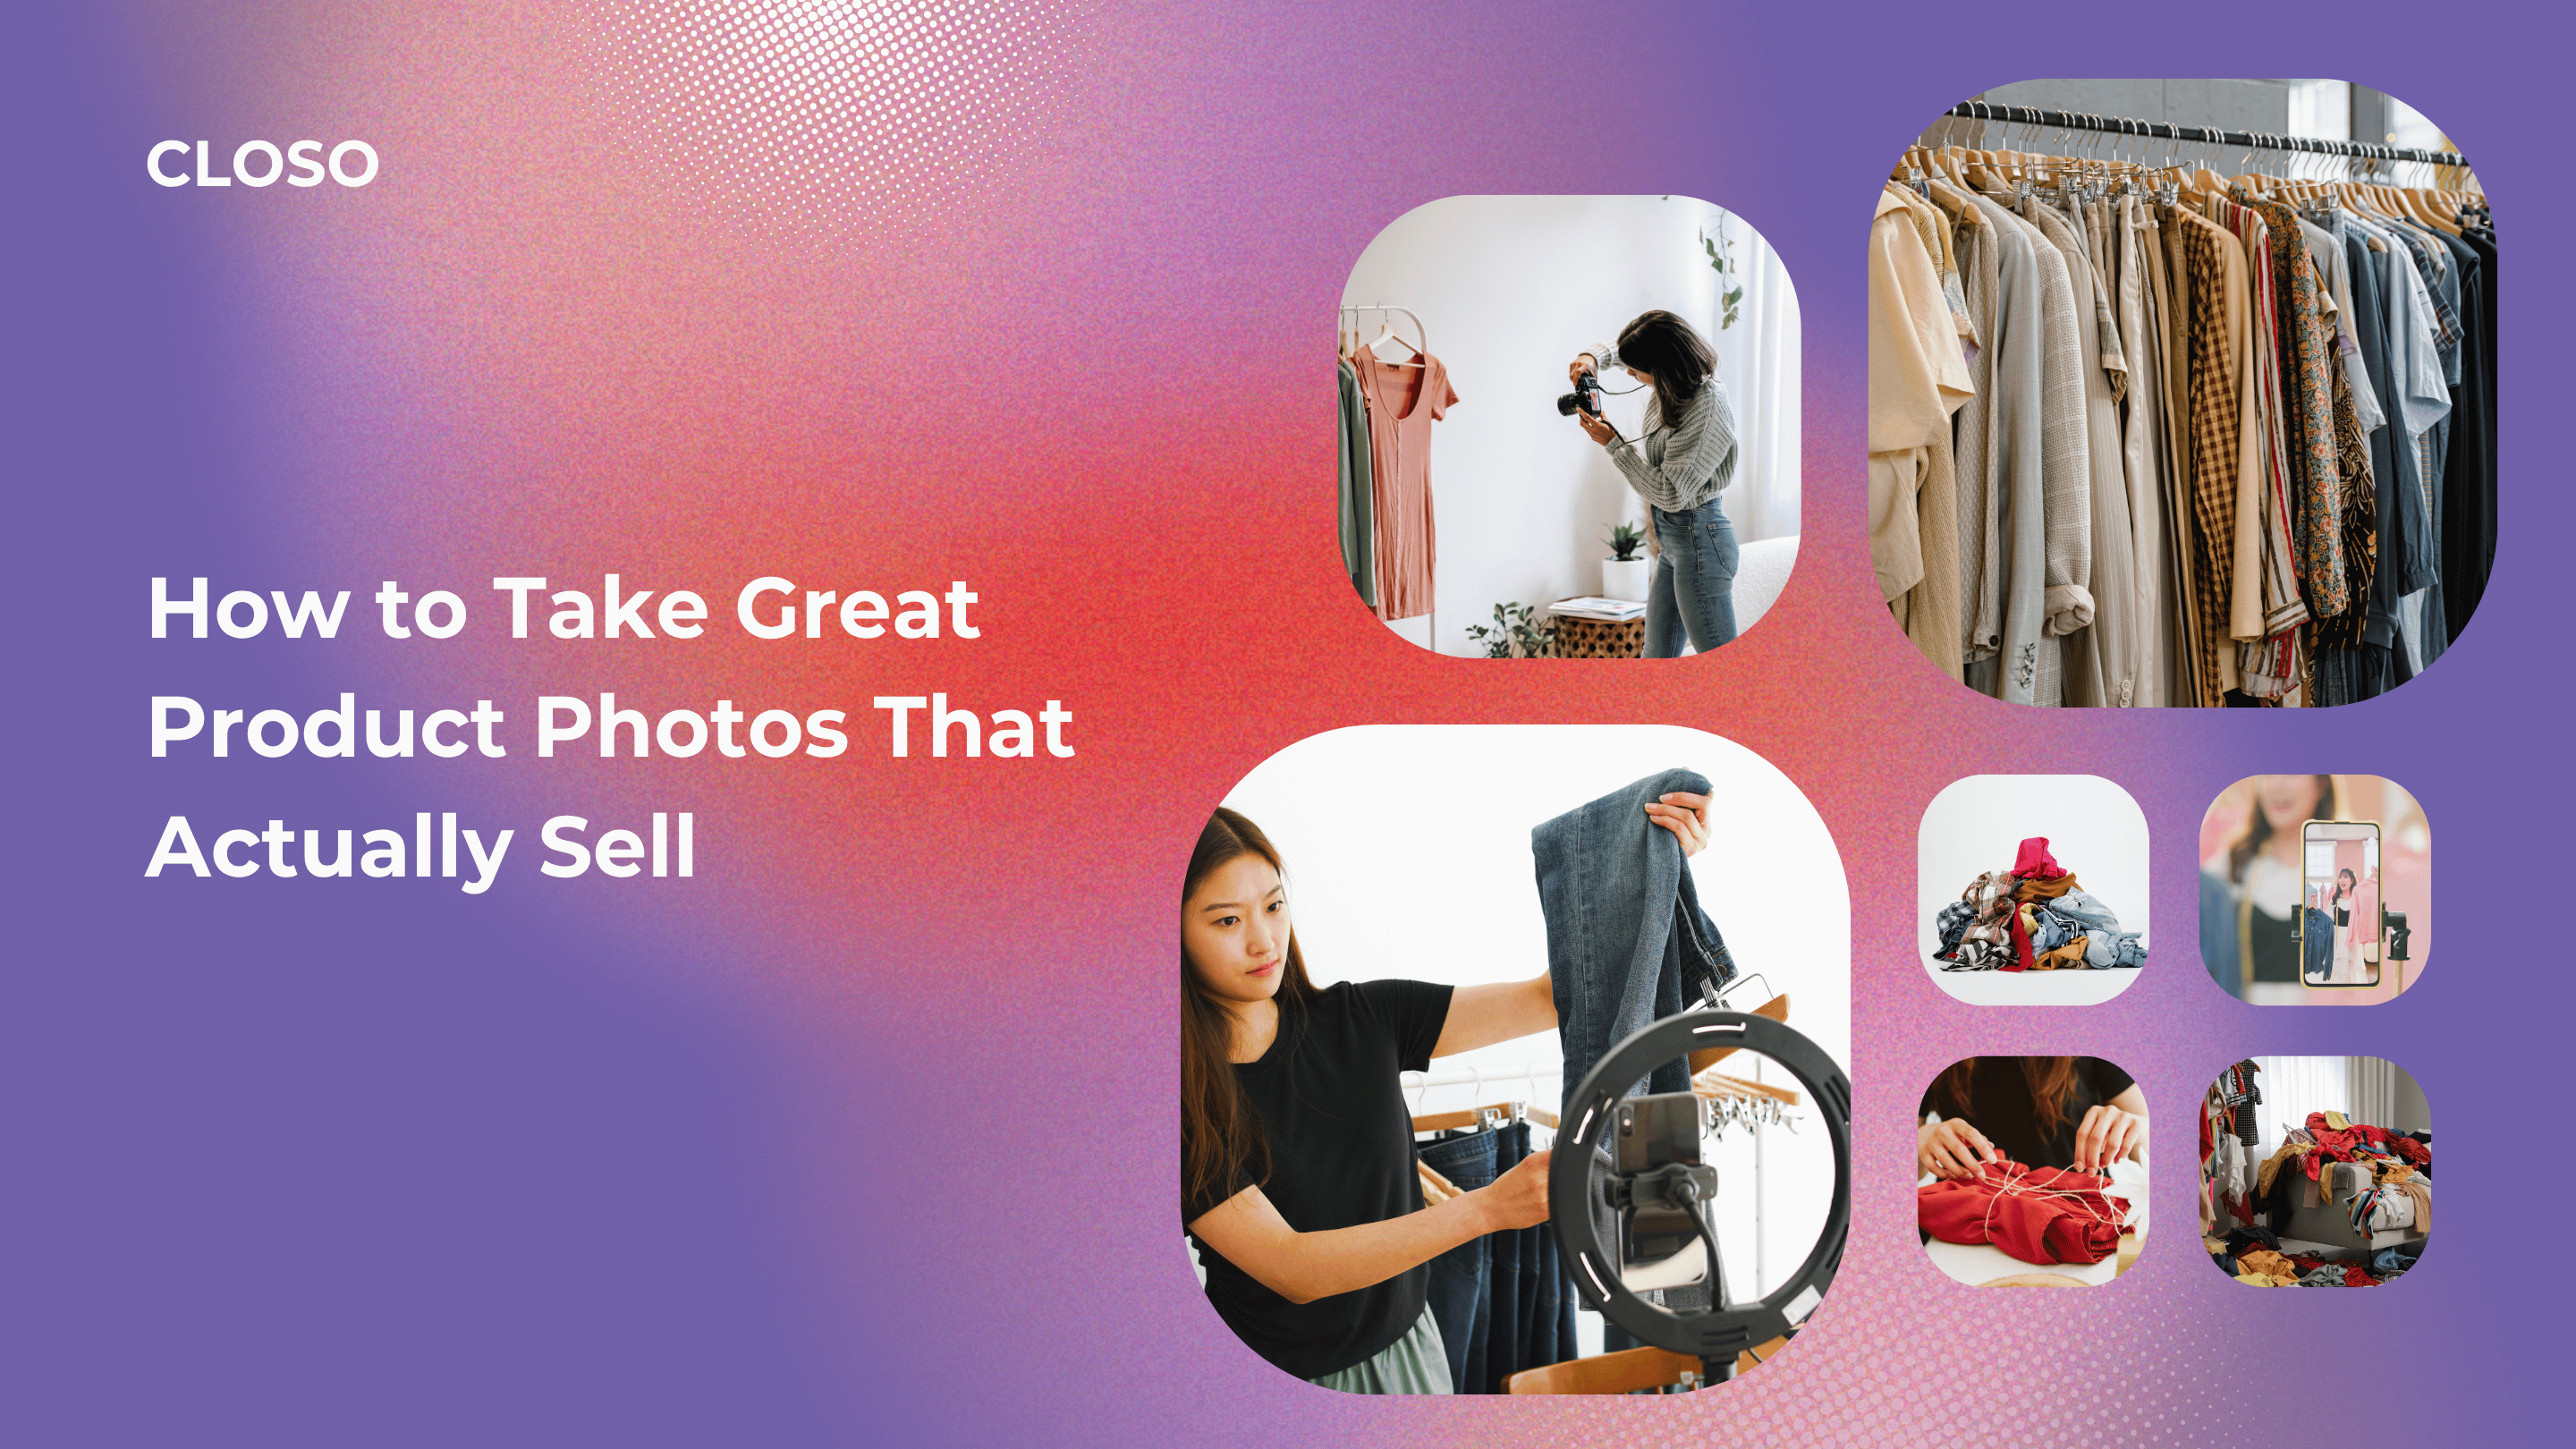
In the world of online resale, your photos are your storefront.
Whether you're flipping clothes on Poshmark, listing gadgets on eBay, or selling through a resale platform like Closo—your product photos are the #1 factor that determines if someone clicks, scrolls past, or buys.
The good news? You don’t need a fancy camera or professional studio setup. With just your smartphone, natural light, and a few simple tricks, you can take crisp, scroll-stopping product photos that build trust and boost sales.
This guide is built for beginner resellers and side hustlers working from home who want to sell faster (and look professional doing it).
Why Product Photos Matter (Especially in 2025)
Think of online shoppers like this:
-
They don’t get to touch the item.
-
They don’t get to try it on.
-
They make a decision based almost entirely on your photos and price.
Great photos build trust and create urgency. Bad photos lose sales—even if your item is amazing.
In fact, listings with 5+ high-quality photos sell up to 70% faster than those with just 1–2 poor images (based on resale platform data from 2024).
Before You Start: What Makes a Great Product Photo?
Let’s define what “great” means in reselling:
✅ Bright and well-lit
✅ True to color
✅ Clear with sharp focus
✅ Neutral background
✅ Multiple angles shown
✅ Highlights flaws (transparency builds trust)
Now let’s walk through how to achieve all of this using just your phone and some household hacks.
1. Use Your Phone Camera the Right Way
Keyword: how to start reselling, reselling business from home
You don’t need a DSLR. Most smartphones in 2025 have 12MP+ cameras with auto-focus and lighting control.
Phone Camera Tips:
-
Turn off flash — it creates harsh shadows and overexposed spots.
-
Clean your lens — fingerprints = blurry photos.
-
Tap to focus on the product, not the background.
-
Use gridlines to center your shot and avoid tilted photos.
-
Shoot vertically for platforms like Poshmark and Closo.
2. Lighting Is Everything
Good lighting = Professional-looking photo.
Best Light Source:
Natural light
-
Shoot near a window between 10AM–2PM.
-
Avoid direct sunlight (creates harsh shadows).
-
Use a sheer white curtain to diffuse if needed.
If shooting at night:
-
Use a ring light or daylight LED lamp.
-
Position lighting at a 45° angle.
-
Avoid mixing warm and cool lights.
Pro Tip: Always shoot in the same lighting setup to create visual consistency in your store.
3. Set Up a Clean, Neutral Background
Keyword: reselling business from home
Your product should stand out—not your floor, furniture, or busy patterns.
DIY Background Hacks:
-
White sheet or poster board
-
Foam board from a craft store
-
Neutral wall
-
Large tile or wood panel for flat lays
💡 Consider investing in a foldable light box for smaller items like jewelry, accessories, or electronics.
4. Choose the Right Style: Flat Lay vs. On-Model Shots
Flat Lays:
-
Perfect for clothes, accessories, and home goods.
-
Lay the item flat on a clean surface.
-
Use hangers or styling props (like shoes or a hat) for lifestyle feel.
On-Model:
-
Adds context and shows fit.
-
Doesn’t have to be professional—mirror selfies or casual try-ons work.
Tip: If you’re shy, use a mannequin or hang items on a clean wall.
5. Capture Multiple Angles (Like a Pro)
Online buyers want to feel confident in what they’re getting.
Your photo checklist:
-
✅ Front
-
✅ Back
-
✅ Close-up of material
-
✅ Label and size tag
-
✅ Flaws (if any)
-
✅ Lifestyle or styled shot (optional)
Minimum photos per listing: 5–8
More photos = fewer buyer questions = faster sales.
6. Edit, But Don’t Overdo It
Keyword: side hustle 2025, how to start reselling
Editing can turn a decent photo into a high-converting one—just don’t alter the product’s reality.
Free Editing Apps for Sellers:
| App | Best For |
|---|---|
| Snapseed | Brightness, contrast, crop |
| Lightroom Mobile | Professional adjustments |
| Canva | Background removal & text |
| PhotoRoom | 1-click background removal |
Editing Rules:
-
Adjust brightness, contrast, and sharpness
-
Don’t change color dramatically
-
Always show real flaws
Common Photo Mistakes to Avoid
❌ Blurry images
❌ Bad lighting or yellow tint
❌ Distracting backgrounds
❌ One photo only
❌ Hidden flaws
❌ Over-editing
Each of these kills buyer trust and reduces conversion—especially if you’re new and don’t yet have reviews.
Case Study: From Zero to Sales with Just a Phone
Laura, a part-time reseller in North Carolina, listed 10 items from her closet in 2024.
Her first batch of photos?
-
Yellow lighting, bed background, one angle.
-
Result: 0 sales in 2 weeks.
After a revamp:
-
Natural light near a window
-
Flat lay on a white sheet
-
5 angles per item
-
Added detail shots of tags
Result:
7 items sold in 5 days. 3 buyers left glowing reviews saying “looks exactly like the photos!”
“Once I changed my photo style, I didn’t need to drop my prices. I just looked more legit.”
Tools Worth Investing In (Optional, <$50)
-
Ring light with phone stand: $25
-
White foam board: $5–10
-
Foldable light box: $30
-
Fabric steamer (for wrinkles): $20
-
Mannequin torso: $40 (optional, game-changer)
Final Checklist: Perfect Product Photos Every Time
✅ Use natural or bright light
✅ Clean, neutral background
✅ Capture all key angles
✅ Highlight tags & flaws
✅ Edit for clarity, not filters
✅ Upload 5–8 photos per listing
TL;DR: How to Take Product Photos That Sell
-
📱 Use your phone—but use it right
-
☀️ Natural light beats filters every time
-
🧼 Keep your background clean and neutral
-
📸 Show all angles, especially tags and flaws
-
🪄 Use free editing apps to brighten & crop
-
🎯 Better photos = faster sales + buyer trust


