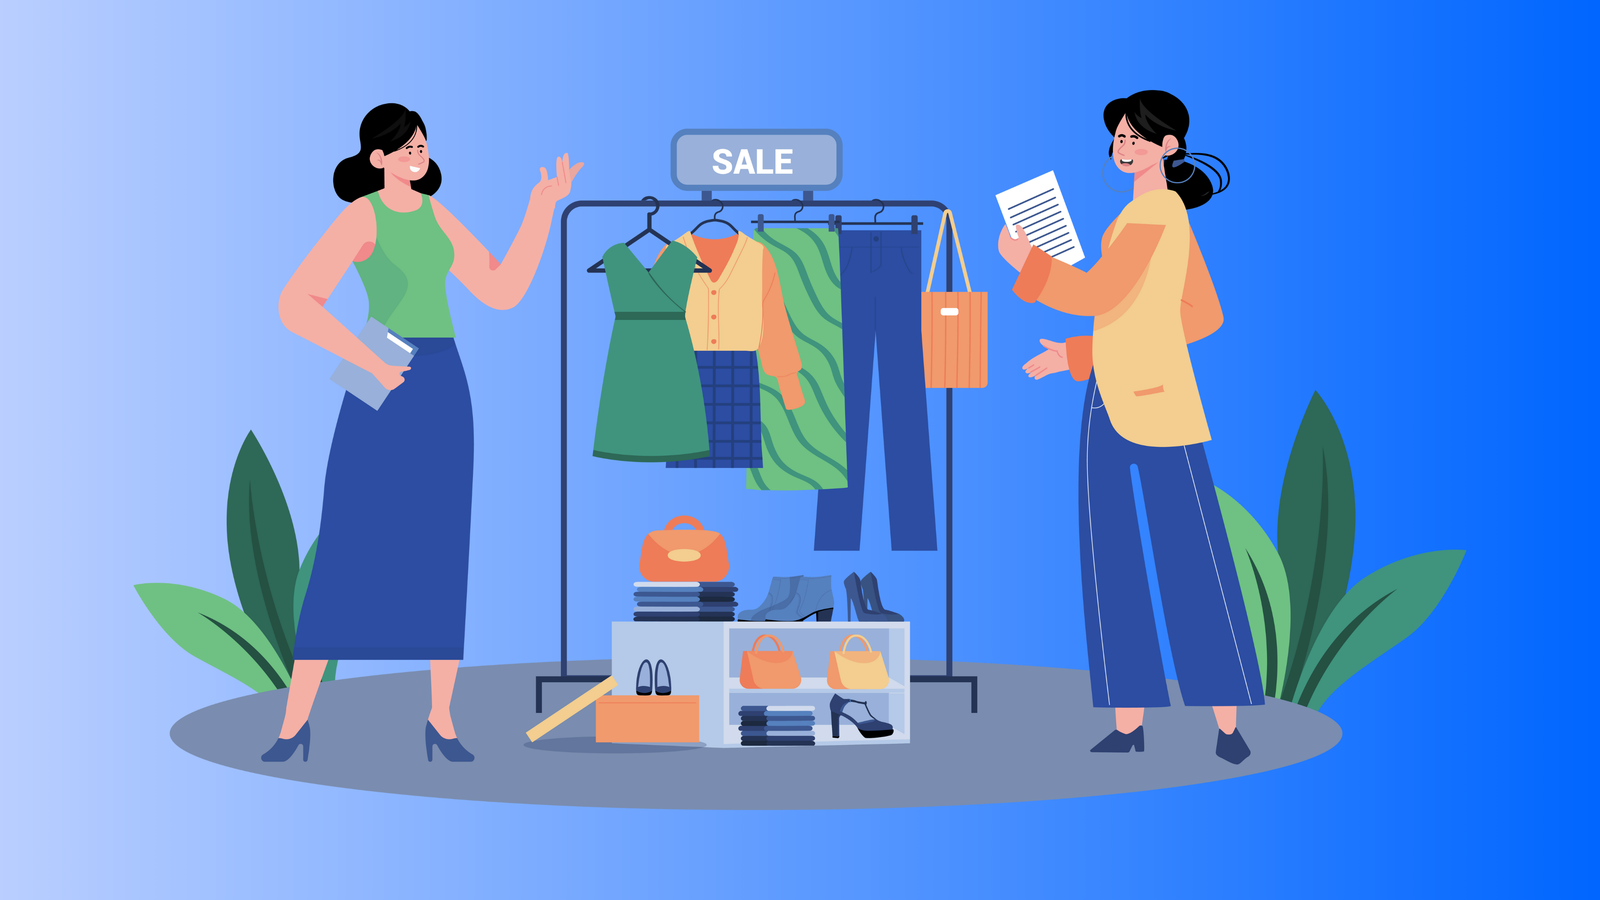
The First Time I Tried “Scan to Find Item”
It was May 2021.
I was standing in the back of a dusty thrift store with a pair of sneakers I’d never seen before. No brand tags on the outside. Just a unique logo on the tongue. Normally, I would’ve passed on them or spent 10 minutes searching Google.
Instead, I opened my camera app, used Google Lens, and took a picture of the item to identify it. Within seconds, I had the exact model — a discontinued pair of Nike ACG hiking sneakers. Retail value: $160. Buy price: $12.
That one flip was the beginning of a completely new way of sourcing for me.
Why “Scan to Find Item” Tools Matter for Resellers
Here’s where it gets interesting.
Sourcing is the single most time-consuming part of reselling. Most people underestimate how much time they lose just trying to figure out what something is and whether it’s worth buying.
When you can take a picture to identify something instantly:
-
You cut your decision time from minutes to seconds.
-
You can make smarter buys on the spot.
-
You can scale sourcing without memorizing every brand or SKU.
That’s why the best sellers I know rely on these tools — not just their memory.
How to Take a Picture of an Item and Find It Fast
My current process is simple and repeatable.
-
Open the camera or scan app (I use Google Lens most often).
-
Take a clear photo of the item. Logos or distinctive features work best.
-
Wait 1–3 seconds.
-
Scroll results until I find the matching product page or similar comps.
-
Check resale value and demand before buying.
This works on clothing, shoes, electronics, books, and even some collectibles. And yes, it’s scary fast.
The Tools I Use for “Scan to Find Item”
I’ve tested almost everything out there. These are the five tools I actually use regularly:
-
Google Lens — my go-to for general product identification.
-
Amazon Seller App — great for barcode scanning at retail stores.
-
eBay App (Image Search) — best for vintage or used goods.
-
Vendoo + Closo integration — for importing and pricing after scanning.
-
Photoroom + Lens combo — for visual matches even when barcodes are missing.
The magic isn’t in one app. It’s in how you combine them into your sourcing workflow.
Honest Failure: When the Scan Gave Me the Wrong Item
Not every scan is perfect.
In September 2022, I scanned a vintage jacket with a logo that looked almost identical to Patagonia. The scan pulled up “Patagonia Retro-X.” Retail value $280.
I bought it for $45. But it wasn’t Patagonia. It was an off-brand dupe. My profit margin disappeared.
Lesson learned: scanning is a tool, not gospel. Always cross-check at least one additional source before pulling the trigger on higher-ticket items.
How “Scan to Find Item” Helped Me Sell on Multiple Marketplaces
Before I started using scan-based sourcing, I sold almost exclusively on Poshmark. But as I scanned and identified more accurately, I realized I could match items with multiple marketplaces more strategically.
Example:
-
A discontinued Patagonia fleece I scanned in March 2023.
-
Listed on Poshmark, eBay, and Mercari within 10 minutes.
-
Sold on eBay in 48 hours for $165.
Selling on multiple marketplaces isn’t just about exposure. It’s about speed and liquidity. And scanning makes that multi-listing workflow much smoother.
Integrating “Scan to Find Item” with Software Reselling Workflows
This is where my business really leveled up.
After scanning, I don’t just keep the data on my phone. I push it into my software reselling stack. My stack looks like this:
-
Google Lens → identification
-
Closo → pricing and listing automation
-
Vendoo → cross-listing
-
Rollo printer → shipping labels
-
Notion → inventory tracking
It’s not glamorous, but it works. I now source 200+ items a month without getting buried in admin work.
Why This Works So Well with Visual Categories
Some product categories are almost made for “scan to find item” workflows:
-
Sneakers — logos, patterns, and colorways are easily matched.
-
Electronics — model numbers are often captured even from partial scans.
-
Books & media — barcode scanning is lightning fast.
-
Vintage apparel — trickier, but still works well with pattern recognition.
When I switched to a visual-first sourcing workflow, my sourcing efficiency more than doubled. And my mistakes decreased dramatically.
Honest Limitation: It Doesn’t Work Well for Every Product
In July 2023, I bought a stack of handmade pottery at a yard sale. I scanned each piece hoping to identify the maker. Nothing came up.
That’s when I learned: scanning isn’t great for handmade, hyper-niche, or one-of-one vintage items. Those still require old-school digging.
But for 80% of the resale inventory I deal with — it works brilliantly.
How “Take a Picture to Identify Something” Improves Listing Speed
This is an underrated benefit.
When you scan and identify the item upfront, you already have the product name, style number, or official listing references. That means:
-
Writing titles is faster.
-
Descriptions are more accurate.
-
Pricing is easier to match with comps.
I used to spend 5–7 minutes writing each listing. Now, with scan-first sourcing, I can list in under 90 seconds.
People Always Ask Me… “What If I Don’t Know What to Scan?”
This is a common question from new sellers.
The truth is: if something looks valuable or unusual — scan it. Over time, you’ll develop an instinct for what’s worth your time.
I still scan at least 25% of the random items I see at garage sales. Most are duds. But a few turn into $100+ flips.
Comparison: Manual Identification vs “Scan to Find Item”
| Feature | Manual Identification | Scan to Find Item |
|---|---|---|
| Time per item | 5–10 min | 10–30 sec |
| Accuracy | Depends on knowledge | High for mainstream products |
| Best for | Rare, niche items | Branded goods, common SKUs |
| Learning curve | Steep | Shallow |
| Integration | Limited | Strong with software reselling stacks |
I still use both approaches. Manual research is sometimes essential. But scanning is the default.
Common Question I See: “Is Scanning Allowed in Stores?”
Yes — in most cases.
Big-box stores like Walmart, Target, and Marshalls don’t care if you scan items with your phone. Some thrift stores might give you side-eye, but I’ve sourced thousands of products this way without issues.
Just be respectful and avoid blocking aisles.
Honest Failure #2: Relying on Scanning Alone
In October 2023, I sourced 14 pairs of sneakers based solely on scan results. Half of them didn’t move for months. Why? Because while the item values were accurate, I didn’t account for sell-through rate.
A good scan isn’t a good deal if it doesn’t sell fast. Now I pair scanning with sales data to avoid dead inventory.
Why Scanning is a Game-Changer for Part-Time Sellers
Not everyone can spend hours sourcing every day. If you only have a few hours a week, “scan to find item” workflows give you a speed edge.
It’s like showing up to a test with the answer key already in hand.
And if you pair it with automation (I use Closo for pricing and relisting), you can punch far above your weight as a part-time seller.
Final Thoughts
Using scan to find item tools didn’t just save me time. It changed how I source, list, and scale my business.
It’s not perfect — some niches don’t scan well, and you still need to think like a seller. But if you want to sell on multiple marketplaces faster and smarter, this is one of the best low-lift upgrades you can make.
And yes, pairing it with Closo saves me about 3 hours weekly — time I now spend finding better inventory, not typing product names.
If You Want to Go Deeper
-
Start with Closo Seller Hub for advanced listing automation and sourcing strategies.
-
Check out How to List Items on eBay for listing workflows.
-
Read Highest Selling Items on eBay to identify top product categories to scan.

![Best Apps to Cross List Magic Items [2024 Cluster Guide]](http://closo.co/cdn/shop/articles/The_best_crosslisting_tools_in_2025_are_List_Perfectly_Vendoo_and_Closo._List_Perfectly_offers_robust_marketplace_support_Vendoo_provides_intuitive_workflows_and_Closo_delivers_next-g_3a94c9f8-6077-44ab-8139-b5193ae329ae.png?v=1774919668&width=640)
![Best Free Crosslister Tools for Resellers [2024 Review]](http://closo.co/cdn/shop/articles/online_toolsidekick_db8c9a8a-cce0-4df5-be2d-e72f0fc6403c.png?v=1774919592&width=640)